Has the time come for an essential part of your biosafety cabinet maintenance: replacing the filter? Here's a step by step guide to how:
(This specific article will only focus on Class II biosafety cabinets)
Before getting started, you should note that several things must be considered, and questions need to be asked, before a filter change takes place. These are as follows:
If the above four questions have been answered satisfactorily, then its time to get into the method.
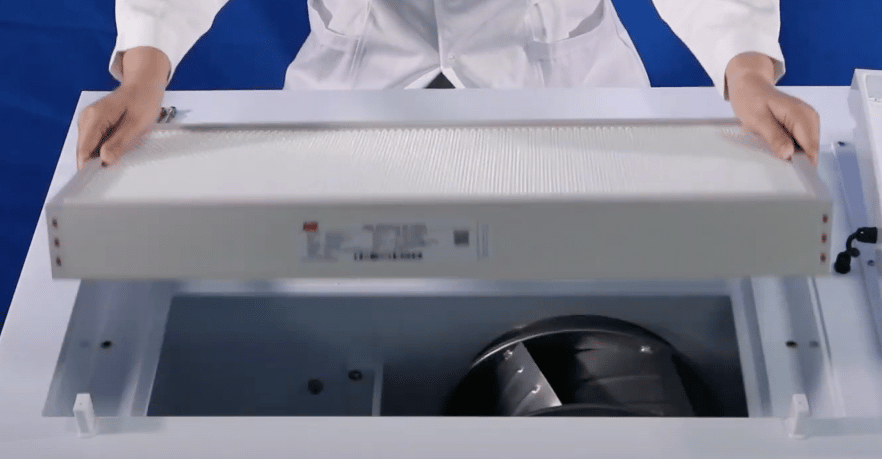
To remove the exhaust HEPA filter, the frame surround at the top of the biosafety cabinet needs to be removed. Take care not to damage the airflow sensor that is positioned in the housing.
Once the housing is removed, the filter frame can be unbolted, and the HEPA/ULPA filter lifted out.
You can then position the new filter, and perform the reverse process to fit it. It is crucial to ensure the filter frame bolts are tightened equally to ensure there is no warping of the frame, which could cause leaks.
Next, you remove the downflow HEPA filter from inside the working area.
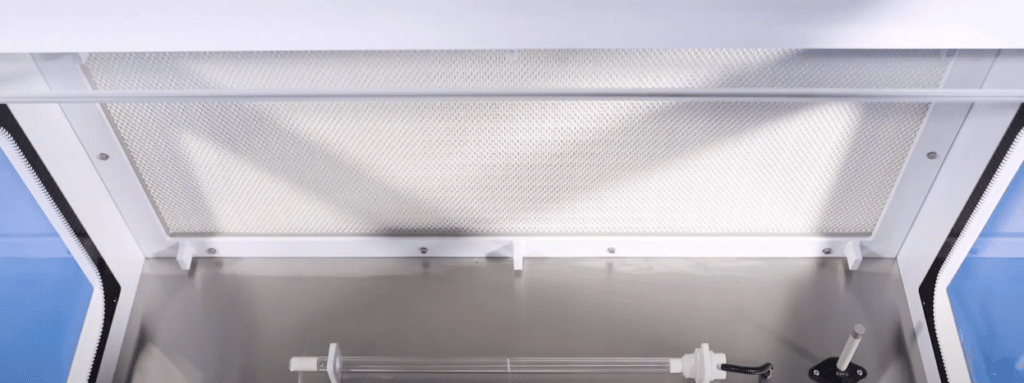
Firstly, remove the UV light fitting (if you have it installed in your cabinet) and the downflow air sensor from the back wall. This allows for easier removal of the downflow filter.
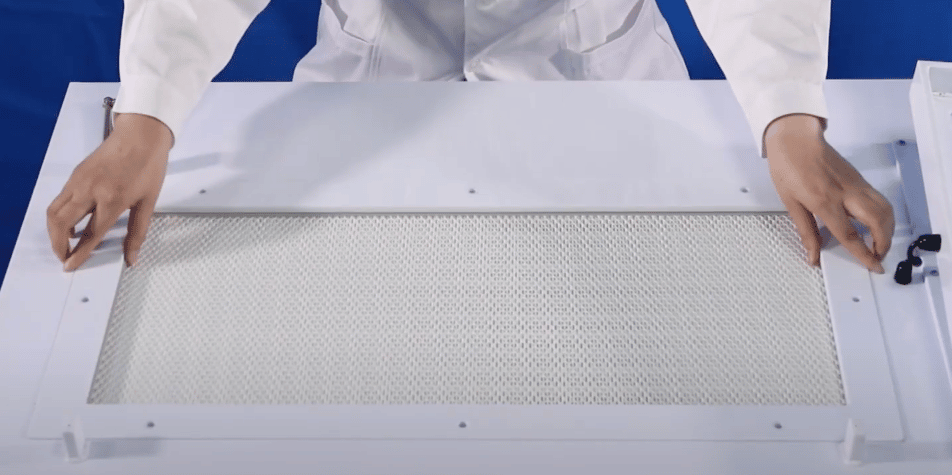
Next, remove the stainless steel mesh cover from the roof of the work area. This is to protect the HEPA filter from any damage.
Then unbolt the HEPA filter frame taking care to have proper support for the filter frame as it is lowered into the work area.
Once the old filter is removed a new filter can be fitted to the frame and lifted back up into the ceiling of the unit. When the bolts are tightened, it is crucial to ensure these are drawn evenly, just like the downflow filter housing.
When the new filters are in place, it is vital to ensure that the cabinet is functioning correctly before use. An airflow calibration should take place as a first step. Following this, a DOP test to check the integrity of the new filters and the seals should be undertaken. Finally, a Ki-Discus test should be performed to ensure your Class II cabinet is maintaining containment in line with EN12469.
As with all biosafety cabinet maintenance, when all of the above has been completed, it's essential that the changes made and the tests carried out are documented correctly and added to the assets works register.
Typically, filter changes should be carried out by a qualified testing and maintenance company that will validate and sign off on their work. That being said, if you have a facilities team in-house, you now know how to change a filter on a TION Class II Biosafety Cabinet.
If you need further assistance or help purchasing our biosafety cabinets, you can contact one of our technicians 24/7.
Read our Privacy Policy for more information on how we collect and process data.


No thank you
Read our Privacy Policy for more information on how we collect and process data.